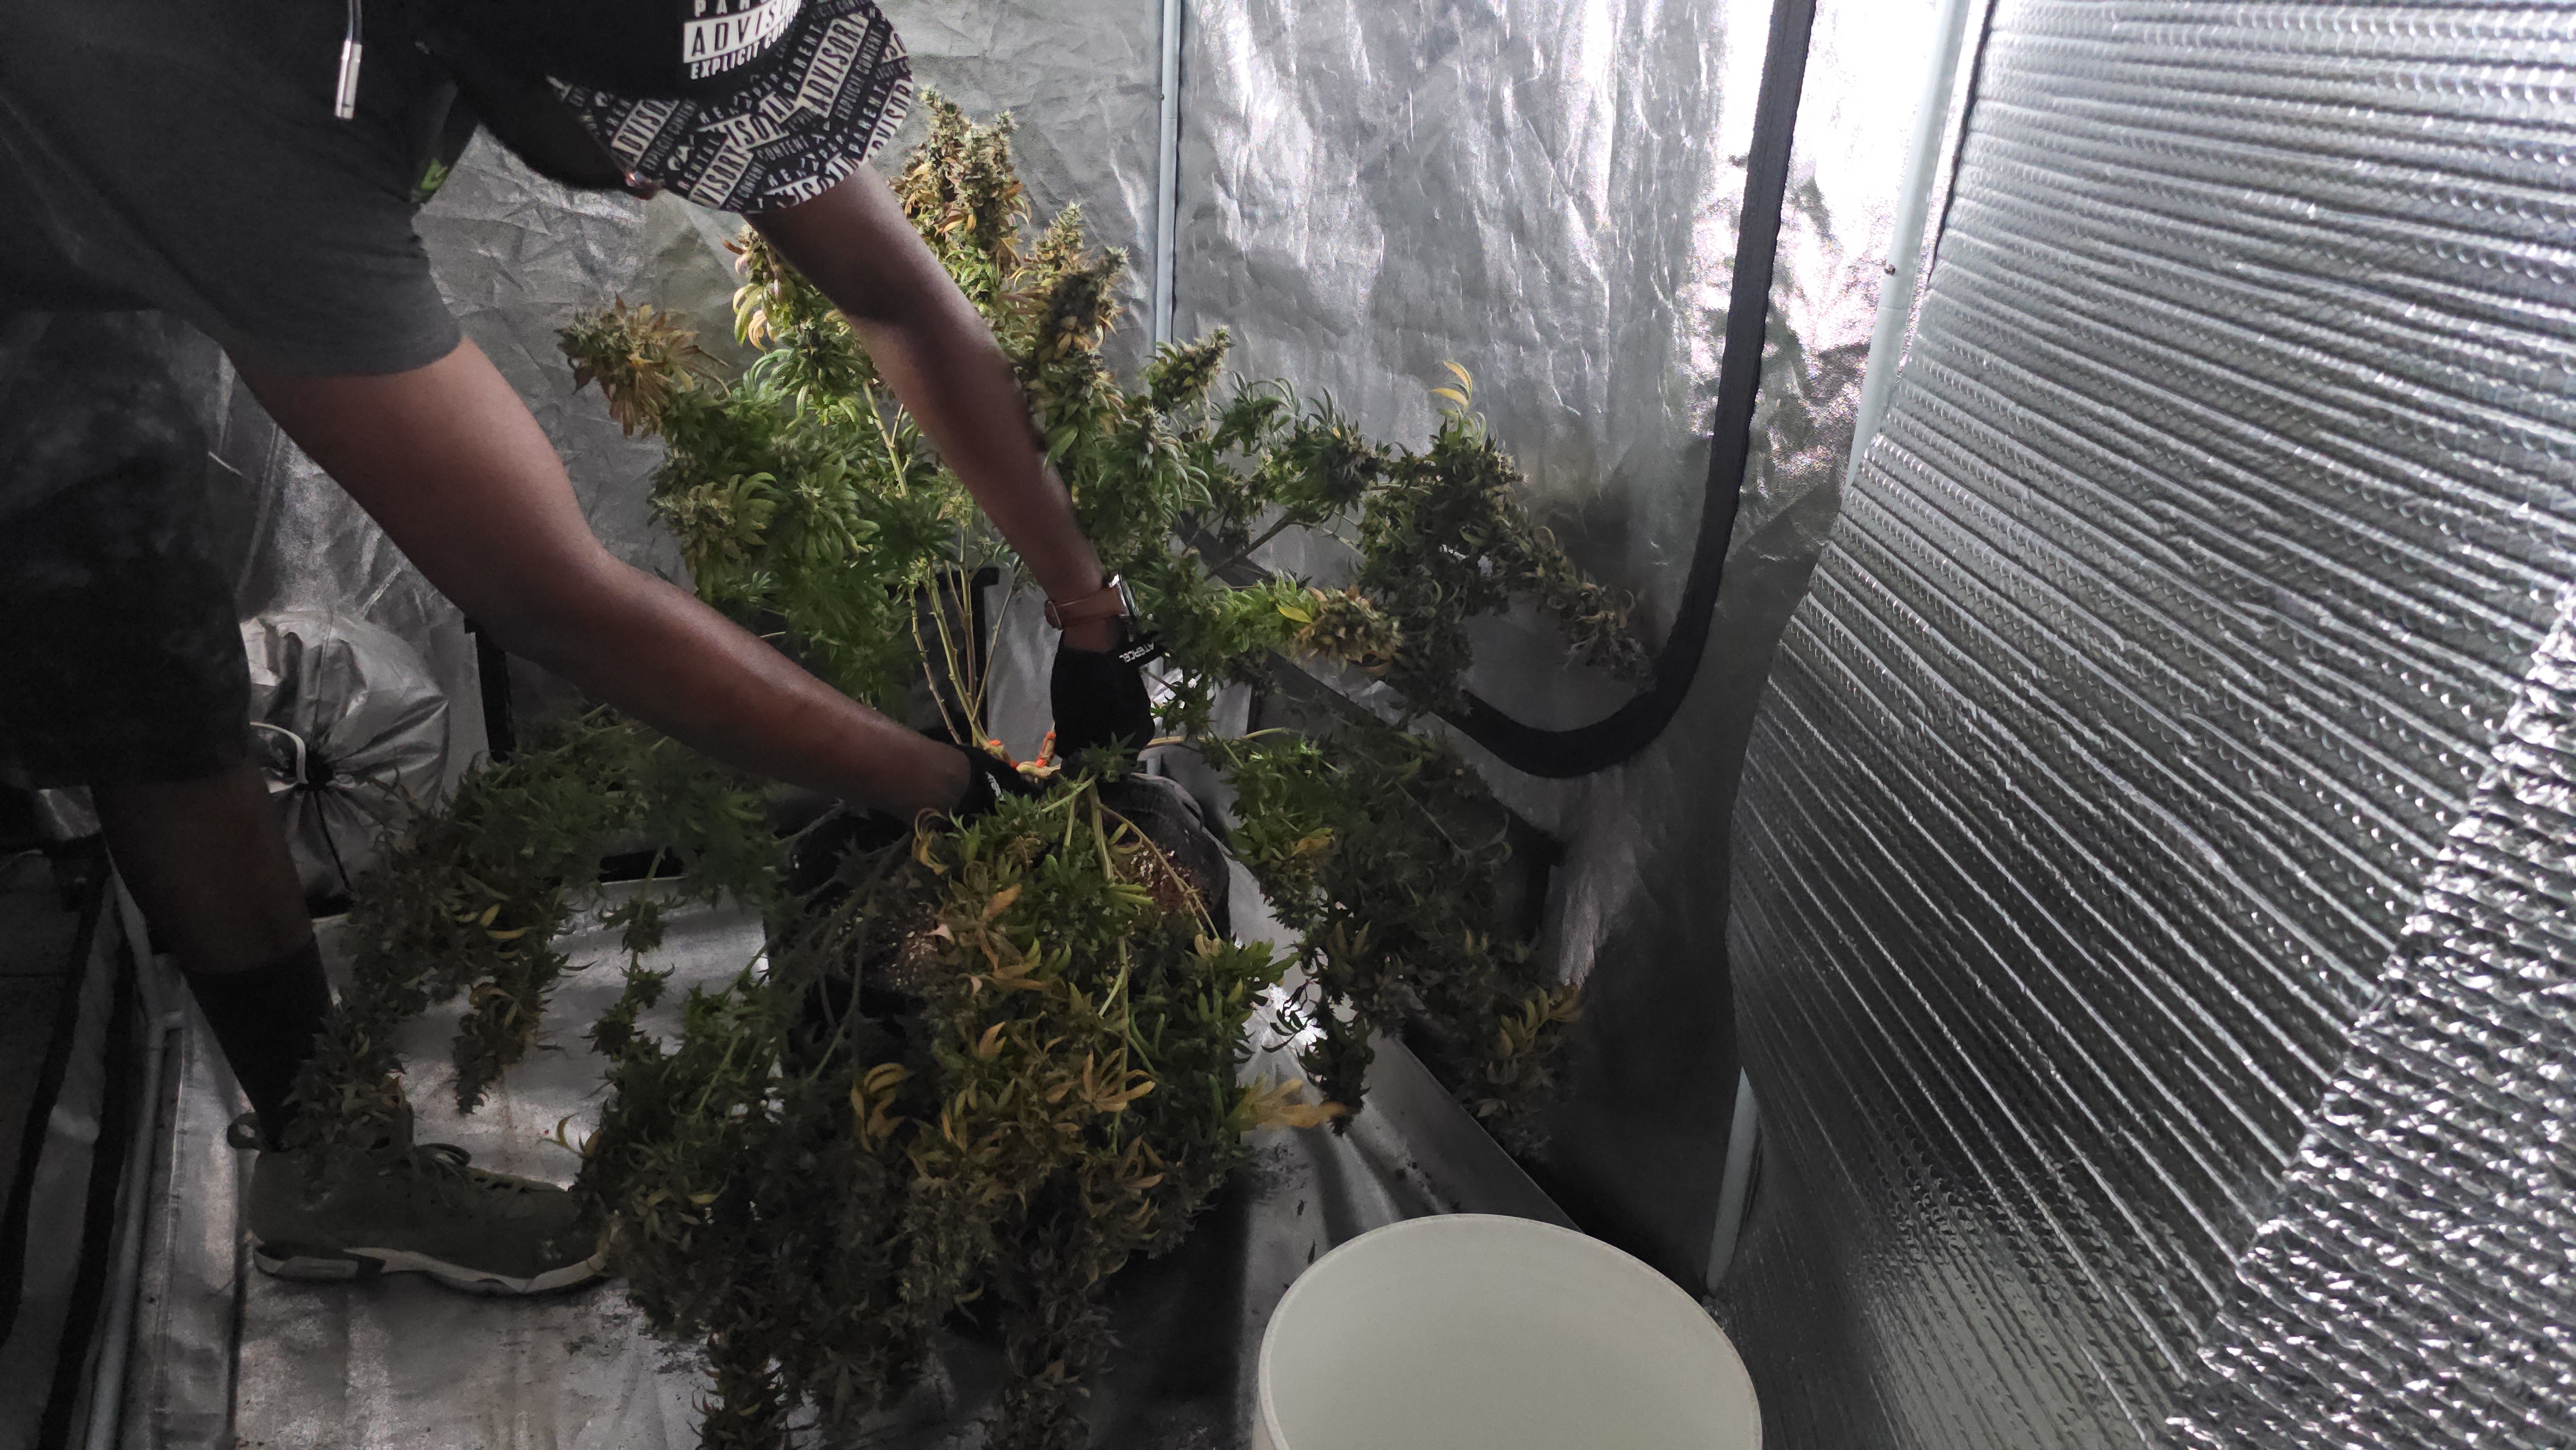
If you are looking to harvest Cannabis for the first time, it can seem to be a daunting task. Well, it turns out that the process is quite involved, but certainly not difficult.
While it is a simple task, there are some things that you need to remember if you want an optimal quality harvest.
Harvesting Cannabis the right way by paying close attention to processing, drying, and curing can bring out its best flavor and potency!
This article will guide you on how to harvest Cannabis for both commercial and personal use in a way that will maximize its quality.
Table of Contents
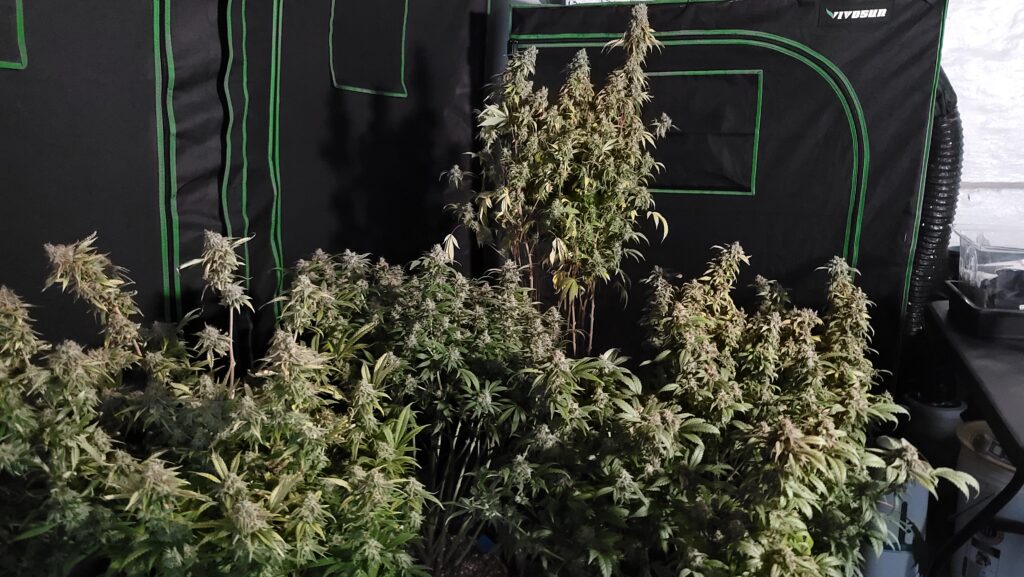
Choosing The Right Time To Harvest
How do you even know when to start the process of harvesting cannabis in the first place?
Well, the timing will vary depending on your region, the time of year, and the type of cannabis plants you’re growing.
However, there are key visual indicators to watch for that will tell when your cannabis plants are ready to be harvested at their optimal potency potential. These include:
1. Trichomes color
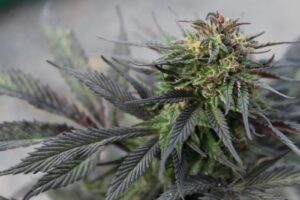
One of the most reliable indicators that Cannabis is ready to harvest is the emergence of trichomes, tiny resin glands on flowers. This color shift may be difficult to see without a magnifying lens, so have one on hand.
Half of the trichomes should be milky white, while the other half should be vibrant amber. On the other hand, Clear trichomes signal that it’s best to hold off on harvesting for a bit longer.
2. Leaf color
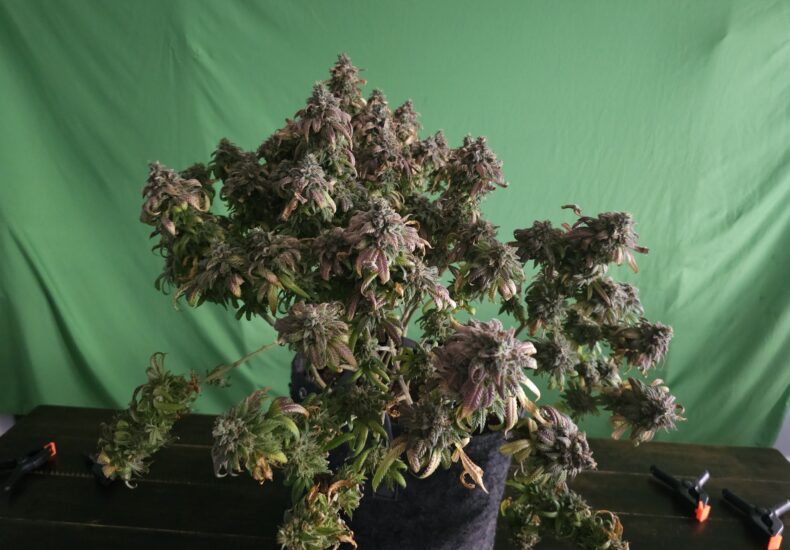
The changing shades of the fan leaves are another dependable indicator of when a marijuana plant is ready to harvest. Nitrogen provides the leaves with their green hue during the flowering stages. As nitrogen levels drop, fan leaves will turn yellow and begin to fall off when it’s time to harvest.
3. Curling leaves
The fan leaves may curl and dry as they turn from green to yellow. When harvest time approaches, cannabis plants take in less water, resulting in a lack of moisture.
4. Brown pistils
When photoperiod cannabis plants reach maturity, the pistils turn brown. When roughly half of the pistils are tinted brown, it’s time to harvest. You’ll need your magnifying lens for this stage, just as you did for examining trichome colors.
5. Bud shape
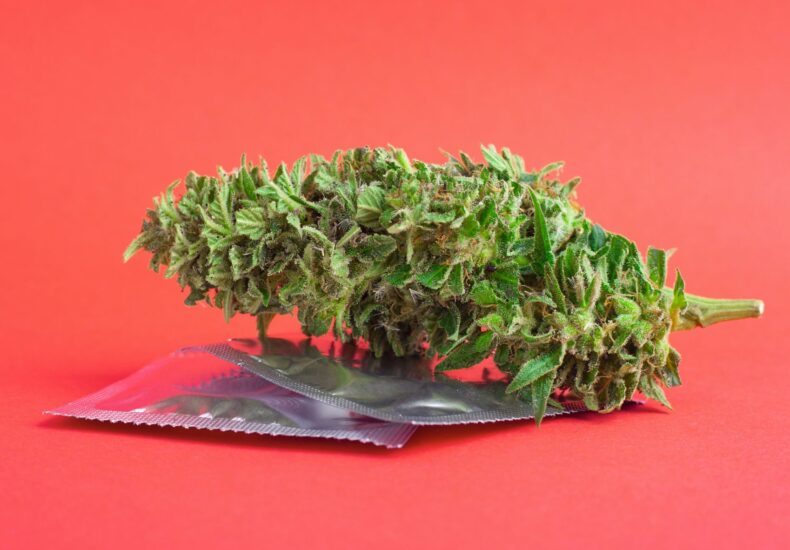
Though not as reliable as the trichome test for determining when it’s time to harvest, the shape of the buds can nevertheless provide some insight into the plant’s maturity. When a marijuana plant’s buds are stiff and tight, it’s time to harvest it.
How Can You Tell If It Is Too Late To Harvest Marijuana?
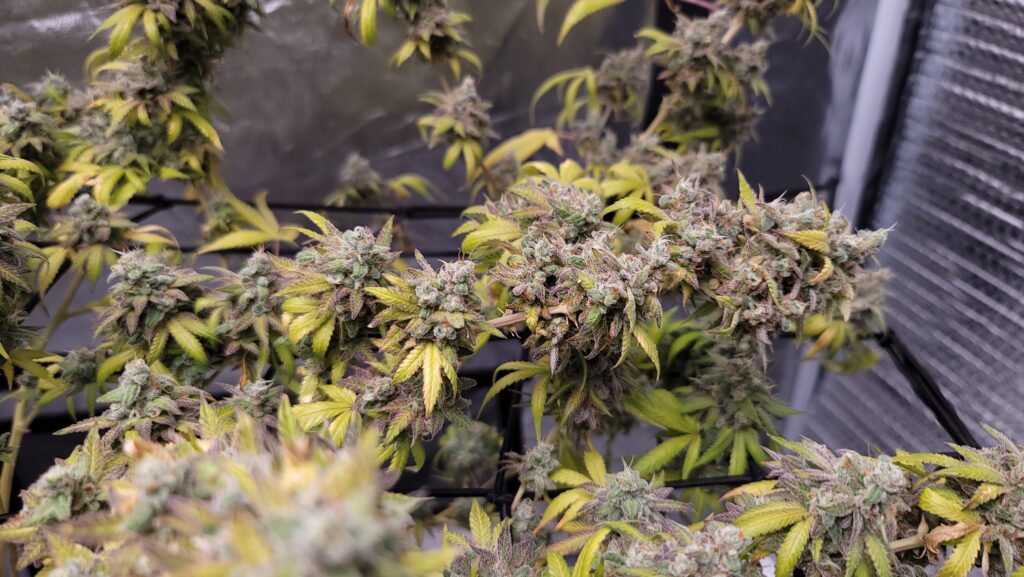
The cannabis flowers are overripe if they have predominantly amber trichomes. The harvested Cannabis will have an awful taste at this stage of development. Furthermore, when amber trichomes replace milky white ones, cannabinoids like THC begin to break down.
Trichomes can also become significantly brittle in addition to their amber color. Overripe buds’ trichomes may disintegrate in your hands.
Harvesting Cannabis after it has passed its prime is not recommended. The Terpenes thought to have medicinal effects, can become more potent during a late harvest, but at the cost of scent and flavor.
How To Prepare For Cannabis Harvesting
Now that you know what to pay attention to, let’s get ready to harvest!
Getting to the harvesting stage is one of the most exciting parts of the cultivation process. Before you get there, though, you want to make sure that you prepare.
1. Check For Impurities In Your Plants
From bugs to fungi and everything in between, perform a thorough inspection of your plants, discarding any damaged parts.
2. Remove any fan leaves that are too big
The presence of giant fan leaves indicates that your cannabis plants are thriving, but they have a reduced trichome count, making them less effective. However, you can still utilize them to make edibles, so keep them if you plan to make some oil.
3. Flush your Cannabis
Flushing is optional but highly recommended, especially if you’re using mineral nutrients to grow your plants. Experts usually start this phase two weeks before their plants are ready to harvest, which we’ll go over in detail in the following session.
If it’s your first time, flushing your plants may seem overwhelming, but it’s a surprisingly simple technique that doesn’t cost you anything. You’ll water your plants as usual, just without any mineral nutrition or supplements. Make sure you don’t over-water the plants.
Your cannabis plants may lose their green color and begin to become slightly yellow during the flush season. While this is normal, ensure you harvest before your buds’ sugar leaves turn yellow.
Waiting too long may affect the appearance of your buds, and the quality of the plants will quickly deteriorate.
4. Prepare the necessary tools needed to harvest Cannabis
To harvest weed, you’ll need:
- Scissors– You will need comfortable scissors for trimming buds. Since you’ll be trimming for a long time, make sure the scissors are ergonomic and fit properly in your hand. These scissors will become quite sticky with time, so invest in an easy clean set or buy two pairs and switch between them.
- Pruners– Pruners help trim big branches. Save the scissors for the tasks that require more precision.
- Tray or bowl– Tray makes transportation and preservation. You can also trim your buds onto a flat table and place them in a bowl. Whatever surface you choose, be sure it’s easy to clean.
- Rubbing alcohol– Trimming scissors will undoubtedly become clogged with resin, so you’ll need to clean them or regularly replace them with a new set. Always have a rag and a cup of rubbing alcohol in your hand.
After adequate preparation, you’re ready to go on to the next step: harvesting!
How to Harvest Cannabis
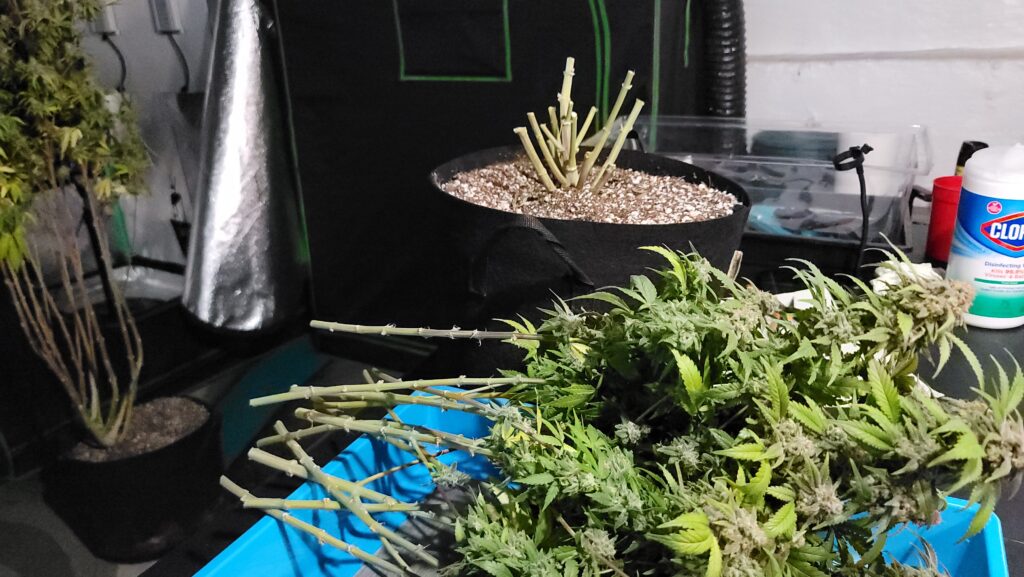
When harvesting Cannabis, it’s preferable to do so in sections rather than cutting the entire plant down. The buds on the upper branches of your plants are usually the first to ripen.
Pruning off the top half of your plant will benefit you by enabling more sunlight to reach the lower branches, helping them survive for a longer time.
Harvesting your Cannabis in portions also saves you time and makes the entire process run more efficiently.
You’ll need to decide whether you’ll cut wet or dry before harvesting.
Dry Trimming
If you’re going to dry trim your Cannabis, you’ll need to let it dry for a few days before trimming. Plants are usually hung upside down by cultivators. THC will transition to its psychoactive state when your plants are drying.
Most cultivators recommend a 5-7 days drying period, but this might vary based on climate, region, and the type of Cannabis. It is best to also dry your plants in a room that is as cool (about 70 degrees Fahrenheit) and as dark as possible, with a humidity level of 45-55%.
Wet Trimming
You won’t have to hang your plants after cutting them down if you want to wet trim them. Instead, you’ll start pruning right away.
Cutting off the large branches and being cautious and intentional around your precious buds are best practices for wet trimming. Assemble the branches in such a way that they are easy to handle.
Wet Trim Vs. Dry Trim
The majority of cultivators like to trim their Cannabis after it has dried.
Trimming Cannabis just after harvest is the easiest approach since sugar leaves haven’t dried up and closed in on the buds. However, wet trimming increases the amount of chlorophyll in the leaves, resulting in a grassy scent.
Dry trimming is typically considered the preferable option, despite being more time and labor-intensive.
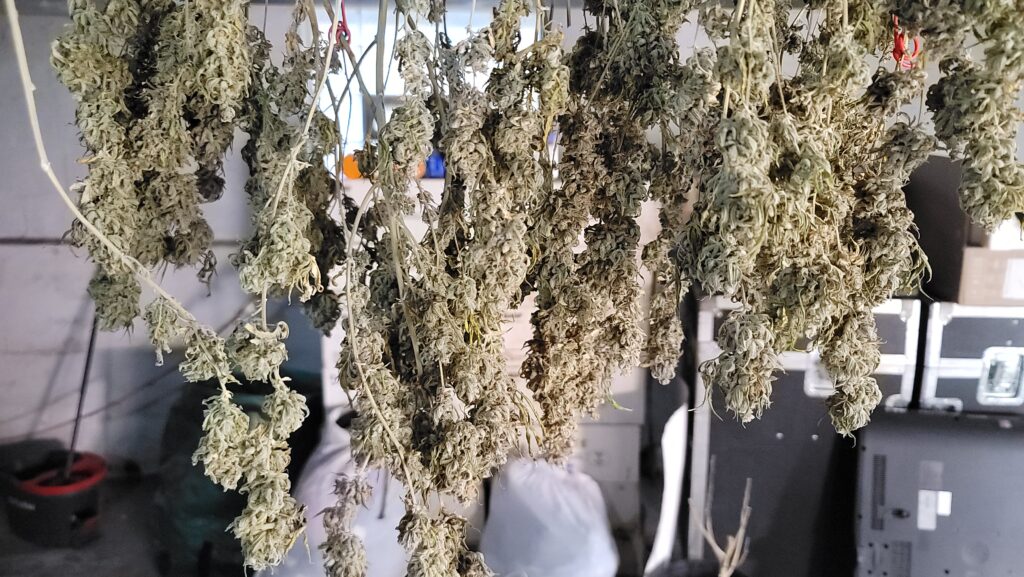
Drying your Cannabis
Buds can develop mold, burn unevenly, and lose aroma or flavor if they are dried incorrectly or unevenly. On the other hand, if you dry it evenly and properly, you will preserve the bud’s strength, vibrancy, and color.
The simplest and most efficient approach to ensure that it dries evenly and quickly is to hang it to dry. Follow these steps for optimum drying results:
- Cut the plant into large branches.
- Hang the plant upside down in a room with a dehumidifier set to 50% and a temperature of 21°C. Temperature and humidity should be checked and maintained on a daily basis
- Remove the stems from the lines and cut them into smaller portions after they are dry enough to snap when bent
- Put the portions in a tote and close it
- Turn and rotate the Cannabis in the totes for the first few days for even drying
- In the first days, open the totes to allow fresh air to filter out the damp air inside.
It’s important to avoid losing trichomes by hanging your branches away from any surfaces throughout the drying process.
Trichomes can be damaged and broken off the plant when they come into contact with a surface. The initial drying process normally takes three to seven days, depending on the ambient circumstances.
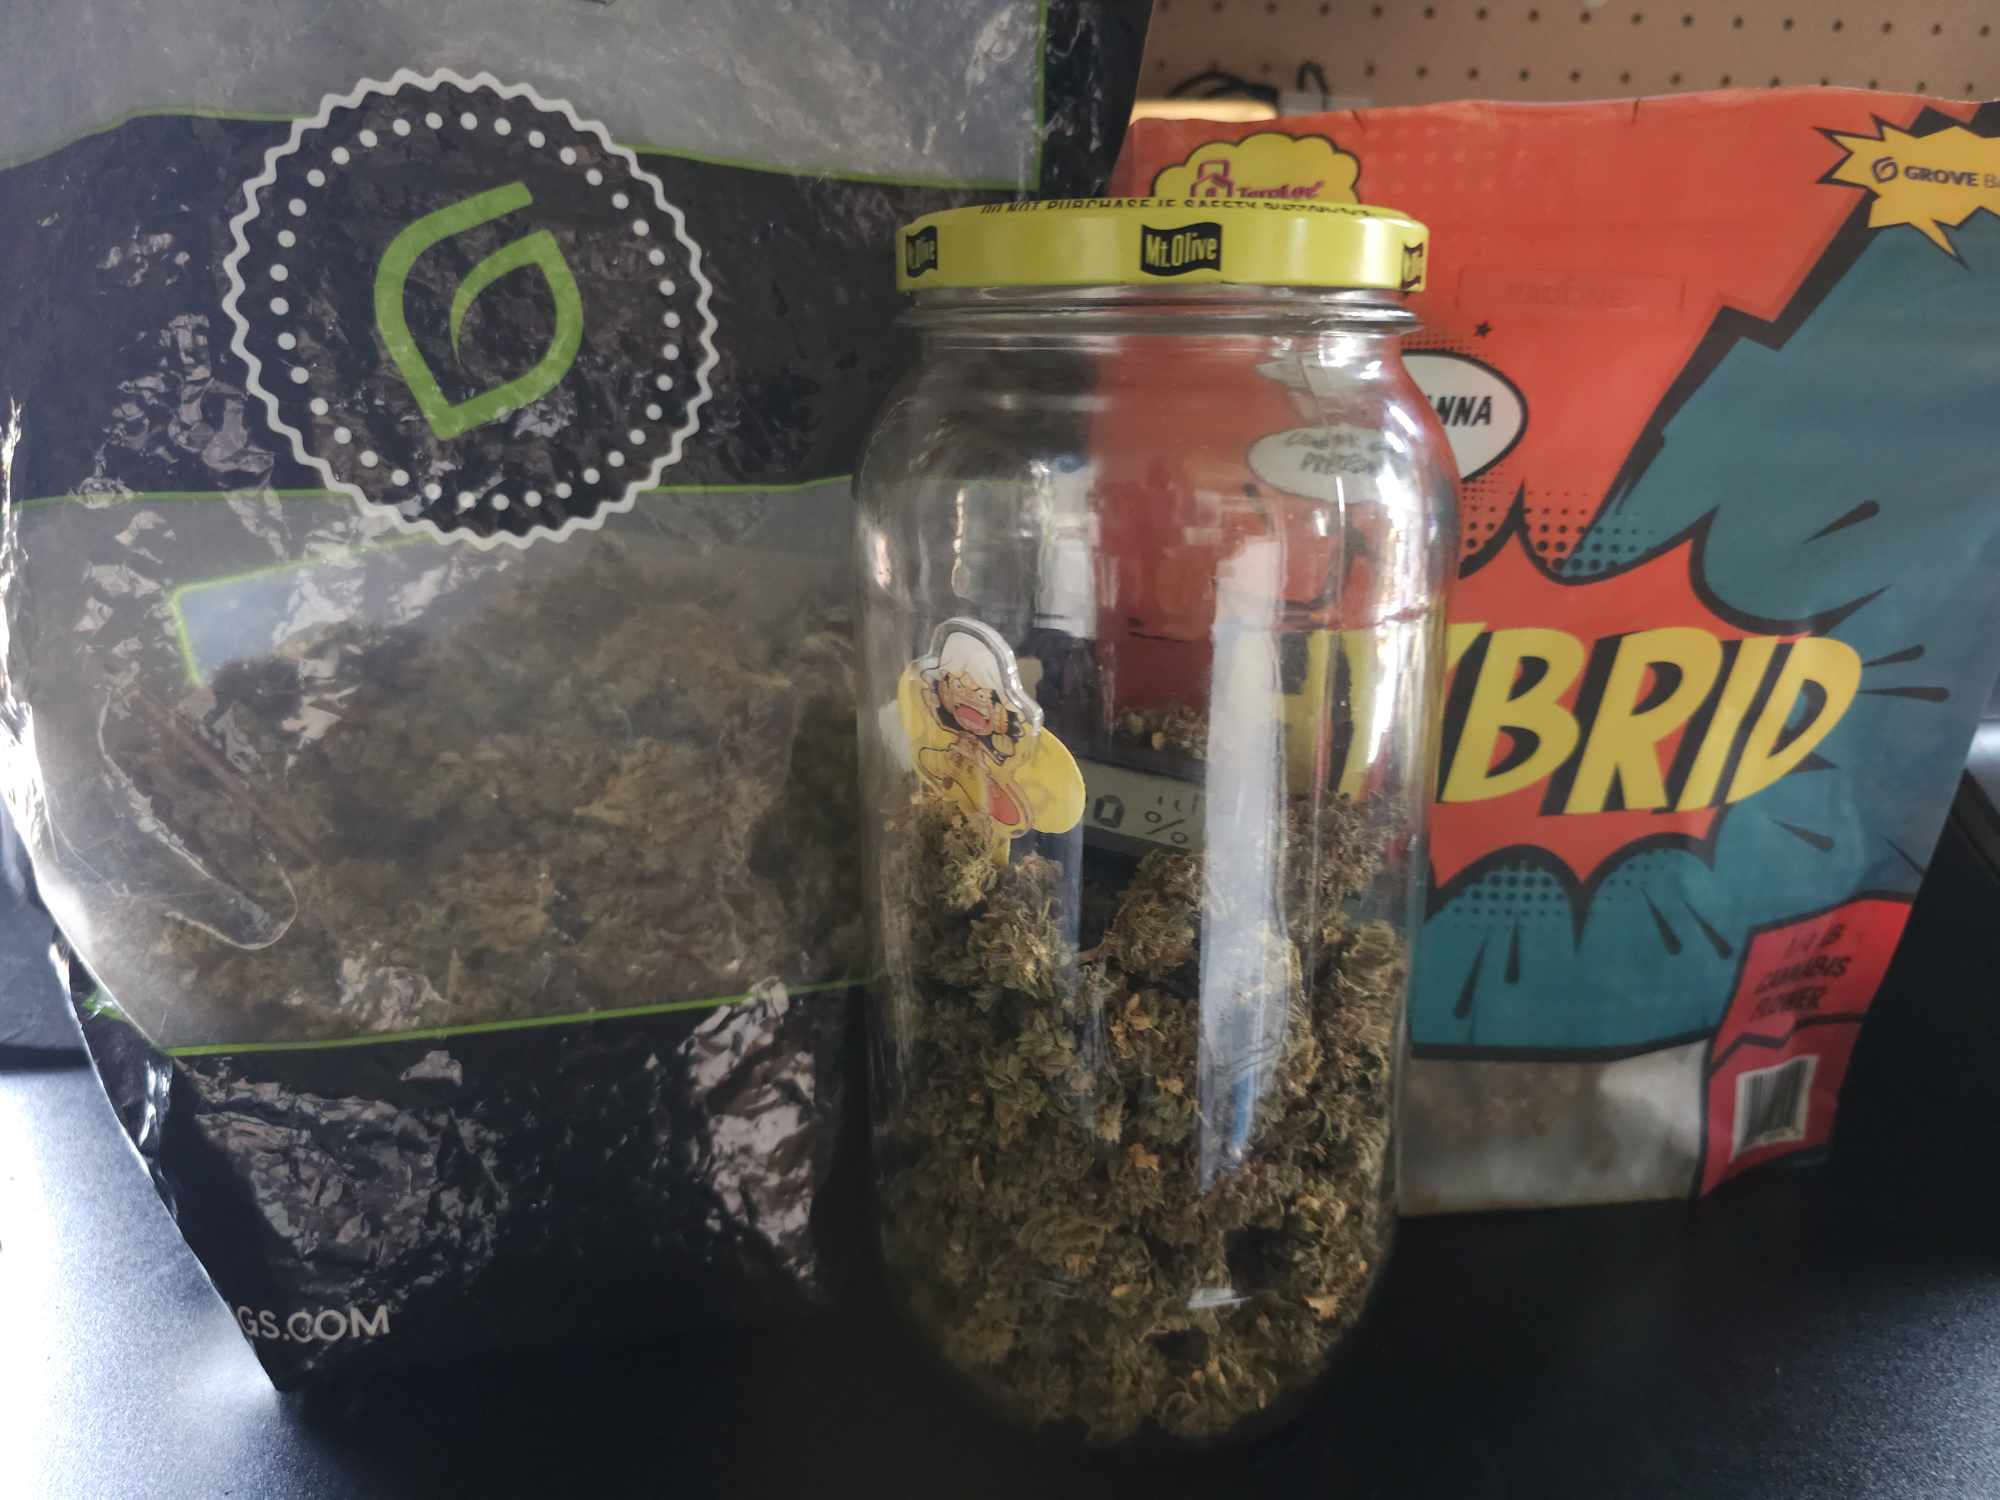
Curing
Curing is the last step in the drying process, and it allows for a regulated breakdown of leftover chlorophyll in the colas, ensuring that they are neither too moist nor too dry.
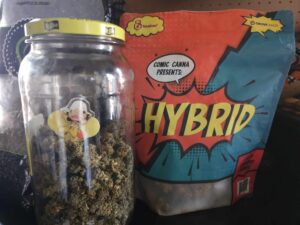
Place your bud in glass jars or a container for 4-8 weeks to cure it. Open the containers every day for the first two weeks to let fresh oxygen filter through the air inside.
In the last two weeks of curing, open the containers every 2-3 days. The curing procedure should be done gradually to guarantee a healthy balance of air and moisture that preserves scent and flavor.
Takeaway
The harvest stage is the culmination of months of care and cultivation, marking the moment when you finally reap the rewards of your hard work. However, achieving a perfect harvest is only the beginning. The quality of your cannabis is highly dependent on what comes next: the drying and curing process. This crucial phase can enhance the potency, flavor, and smoothness of your buds, turning a good harvest into an exceptional one.
To ensure that your harvest reaches its full potential, it’s essential to master advanced drying and curing techniques. These methods not only preserve the delicate cannabinoids and terpenes but also improve the overall smoking experience.
Don’t let your efforts go to waste; take your cannabis to the next level by exploring our detailed guide on Advanced Drying and Curing Techniques. This resource provides expert insights and practical tips to help you achieve the best possible results from your harvest. Elevate your cannabis game and enjoy the ultimate rewards of your cultivation journey!
Additional Resources:
- Grow That Sh!t Better by Maximus Reigns – An essential eBook for both novice and experienced growers, offering advanced techniques and tips for improving cannabis cultivation.
- Cannabis Growers’ Handbook by Ed Rosenthal – A comprehensive guide that covers all aspects of growing cannabis, from setup to harvest.
- Royal Queen Seeds Blog – A rich resource for growers, featuring articles on growing techniques, strain information, and more.
- Leafly Grow Guide – Offers detailed guides and articles on various aspects of cannabis cultivation, including troubleshooting and optimization.
- Grow Weed Easy – A website dedicated to providing step-by-step guides and resources for growing cannabis at home.
These resources offer valuable insights and practical advice, whether you’re just starting or looking to refine your cultivation practices. Dive into these materials to further enhance your understanding and skills in growing cannabis.
