The journey from seed to harvest in cannabis cultivation is a complex yet deeply rewarding process. Each stage in the life cycle of the cannabis plant is unique, demanding specific care and attention to ensure the plant reaches its full potential. From the initial sprouting during germination to the vibrant growth during the vegetative phase, and finally, the bud production in the flowering stage, every step is crucial for achieving a successful harvest. Understanding the intricacies of these stages allows cultivators to provide the optimal conditions needed for the plant to thrive.
The cannabis plant’s life cycle can be broken down into several stages: germination, seedling, vegetative, pre-flowering, flowering, and harvesting. Each stage is interdependent, laying the foundation for the next, and requires precise environmental control, including light, water, nutrients, and temperature. Mastery of these stages not only ensures a healthy plant but also maximizes the quality and yield of the buds. This guide will walk you through each phase, offering insights and tips to help you support your plants from the moment they sprout until they are ready for harvest, ensuring a successful and bountiful cannabis cultivation experience.
Table of Contents
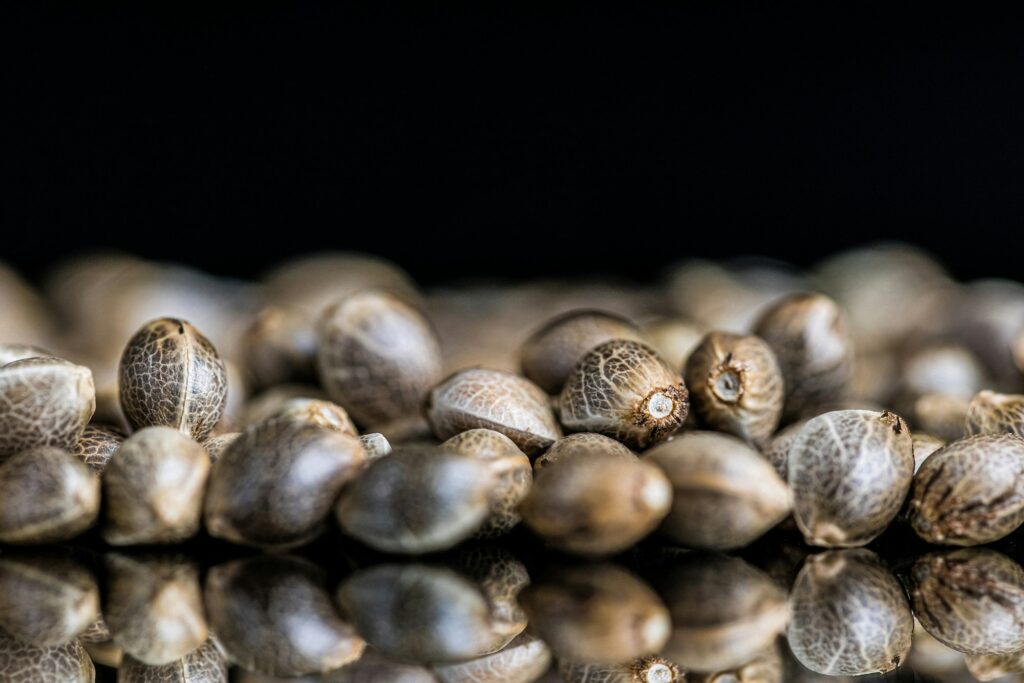
Germination Stage (1-2 weeks)
Detailed Section on the Germination Stage
The germination stage marks the beginning of the cannabis plant’s life cycle. It’s a period filled with anticipation as growers wait for the first signs of life to emerge from what seems like a dormant seed. Understanding and properly executing this stage sets the foundation for a healthy plant, capable of reaching its full potential, and before you get started remember you need seeds!
Description
Germination is the process by which a cannabis seed awakens from dormancy. Triggered by moisture, warmth, and sometimes light, the seed’s hard outer shell cracks open, revealing a delicate white root known as the taproot. This taproot, the plant’s lifeline, anchors the seed in the soil and begins to absorb water and nutrients. Shortly after, the seedling’s first embryonic leaves, or cotyledons, emerge, reaching toward the light source to start photosynthesis. This stage is crucial as it determines the viability of the cannabis plant moving forward.
Care Needs
- Moisture: The key to successful germination is maintaining a consistent level of moisture around the seed. Seeds should be kept moist but not soaked, as excessive water can lead to rot. A common method involves placing seeds between moist paper towels or directly in starter cubes, ensuring they never dry out during this critical period.
- Warmth: Temperature plays a significant role in germination success. Ideal temperatures for cannabis seeds to germinate are between 70-85°F (21-29°C). These conditions can be achieved with a heat mat designed for seed starting or by selecting a naturally warm location.
- Gentle Light: Once the seed has cracked open and the first leaves appear, providing a gentle light source for 16-18 hours a day encourages the seedling to grow strong and healthy. This light should not be too intense to avoid overwhelming the young plant. LED or fluorescent grow lights placed a safe distance away are ideal for this stage.
- Patience: Germination can take anywhere from a few days to two weeks. Patience is vital during this time, as disturbing the seeds to check progress can harm the delicate taproot.
By carefully monitoring these care needs, cultivators can successfully navigate the germination stage, laying the groundwork for the next phases of growth. A healthy start increases the chances of cultivating a robust and productive cannabis plant, making attention to detail during germination well worth the effort.
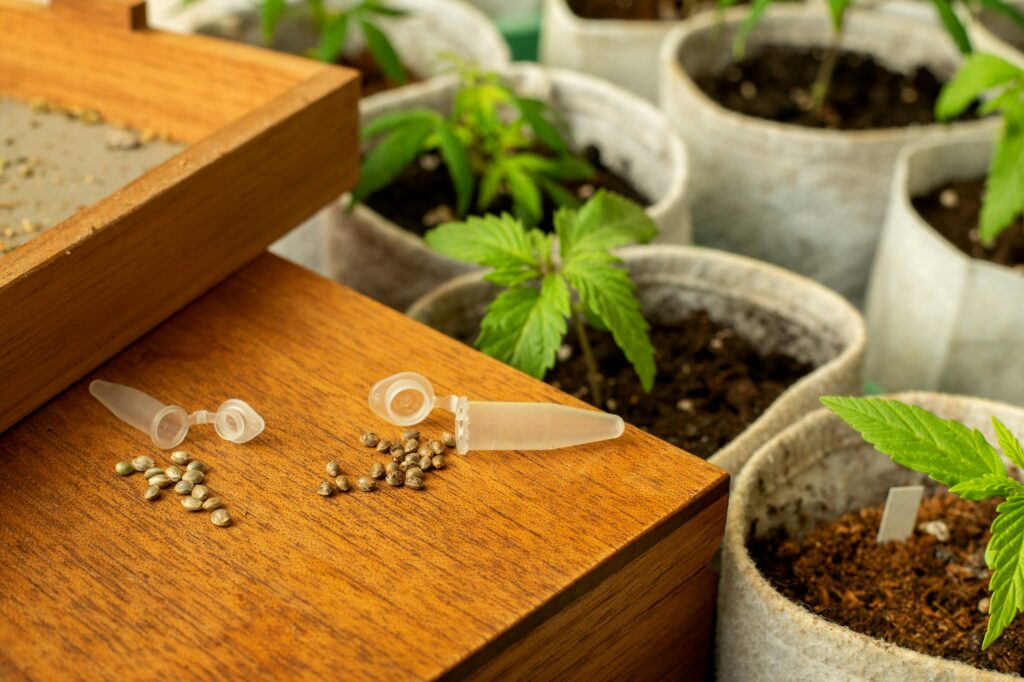
Seedling Stage (2-3 weeks)
Detailed Section on the Seedling Stage
Following the excitement of germination, the seedling stage represents a period of significant growth and development for the cannabis plant. During this phase, the plant is particularly delicate, requiring careful attention to ensure it establishes a strong foundation for later stages. Understanding the needs and challenges of this stage is crucial for nurturing healthy, vigorous plants.
Description
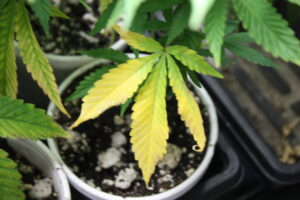
The seedling stage begins when the first pair of embryonic leaves, known as cotyledons, emerge from the soil. These are not true leaves but serve to provide the seedling with its initial nutrients as it begins the process of photosynthesis. Shortly after, the plant will start to produce its first true leaves, characterized by the distinctive serrated edges associated with cannabis. This is a critical time for the plant, as it develops its root system and begins to form the structure that will support its future growth. The appearance of these true leaves is a sign that the plant is ready to start taking in more light and nutrients, gearing up for the rapid growth seen in the vegetative stage.
Care Needs
- Light: Seedlings require a significant amount of light to grow strong and healthy—around 16-18 hours per day is ideal. However, the intensity of this light should be moderate to avoid damaging the young plants. LED or fluorescent lights are excellent choices, as they can provide ample light without excessive heat. Keep lights positioned a safe distance away to prevent stretching or burning.
- Temperature and Humidity: Seedlings thrive in a warm and humid environment. Temperatures should be maintained between 75-85°F (24-29°C), with humidity levels around 65-70%. These conditions can be achieved in a controlled environment using a heat mat and a humidity dome or by placing the plants in a greenhouse.
- Watering: Overwatering is a common mistake during the seedling stage. While the soil should be kept moist, it’s important to allow the top layer to dry out slightly between waterings. This practice encourages root growth as the plant reaches down for moisture and helps prevent root rot and fungal diseases.
- Air Circulation: Introducing a gentle fan can help strengthen the seedlings by mimicking the natural outdoor breeze. Proper air circulation is also crucial for preventing mold and pests, which can be devastating at this vulnerable stage.
- Nutrition: Seedlings initially rely on the nutrients stored in their cotyledons. Once true leaves appear they can start to process additional nutrients. However, any added nutrients should be at a reduced strength to avoid overwhelming the young plants. Some growers wait until the plant has developed 3-4 true leaf sets before introducing a mild nutrient solution.
Successfully navigating the seedling stage requires a balance of careful monitoring and restraint to avoid overwatering, overfeeding, or exposing the plants to too much light. By providing the right conditions and gently guiding their development, cultivators can ensure their cannabis plants emerge from the seedling stage strong, healthy, and ready for the vigorous growth of the vegetative phase.
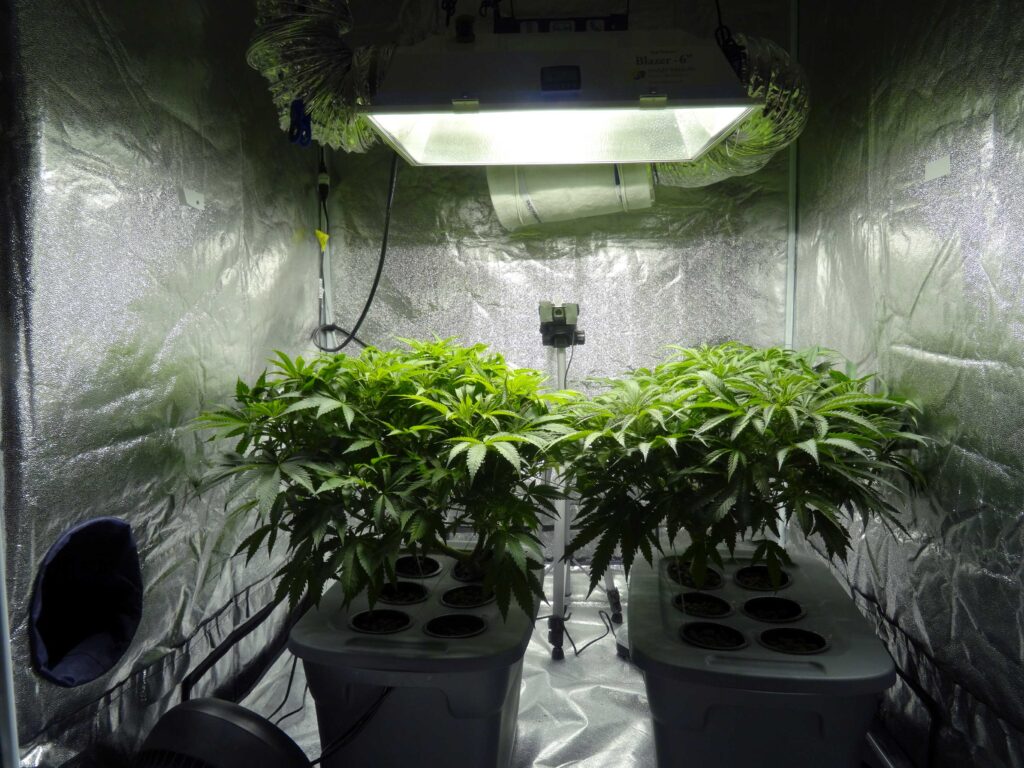
Vegetative Stage (3-8 weeks)
Detailed Section on the Vegetative Stage
After the delicate early days of the germination and seedling stages, the cannabis plant enters a period of vigorous growth known as the vegetative stage. This stage is critical for the plant to build a strong structure that will support its future buds. Here, the focus shifts from simply surviving to thriving, with the plant increasing in size and strength daily.
Description
The vegetative stage is characterized by rapid growth in the plant’s leaves, stems, and roots. During this time, the cannabis plant focuses on accumulating size and mass, setting the stage for a successful flowering period. The plant develops a robust root system that will help in nutrient uptake and strengthen its stem and branches to support the weight of future buds. It’s also during the vegetative stage that growers can train their plants to optimize light exposure and air circulation, influencing the plant’s shape and size.
Care Needs
- Light Intensity and Duration: Cannabis plants in the vegetative stage require plenty of light to fuel their rapid growth—typically 16-18 hours of light per day. This extended light exposure keeps the plants in a vegetative state, preventing them from flowering prematurely. Using full-spectrum LED lights can ensure that the plants receive the right type and amount of light they need to grow.
- Nutrient Requirements: The nutrient needs of cannabis plants shift in the vegetative stage. A higher concentration of nitrogen is crucial during this phase to support leaf and stem growth. Growers should switch to a nutrient solution formulated for vegetative growth, which is high in nitrogen and lower in phosphorus and potassium.
- Watering Practices: As plants increase in size, their water needs will grow accordingly. However, it’s important to avoid overwatering, which can lead to root rot and other issues. The top inch of soil should be allowed to dry out between waterings to ensure the roots receive adequate oxygen.
- Temperature and Humidity Control: Maintaining a controlled environment is essential for healthy vegetative growth. Ideal temperatures range from 70-85°F (21-29°C) during the day and slightly cooler at night. Humidity levels should be kept between 40-60% to encourage transpiration and nutrient uptake.
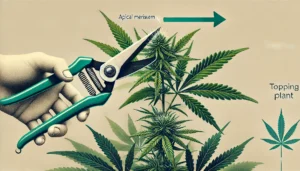
- Plant Training: Techniques such as topping, pruning, and low-stress training (LST) can be employed during the vegetative stage to shape the plant and expose more of it to light. These methods can lead to a more even canopy and potentially higher yields come harvest time.
The vegetative stage is a time of significant development for the cannabis plant, requiring careful attention to light, nutrients, water, and environmental conditions. By providing optimal care during this stage, growers can ensure their plants have the strong foundation needed for the flowering stage and a bountiful harvest.
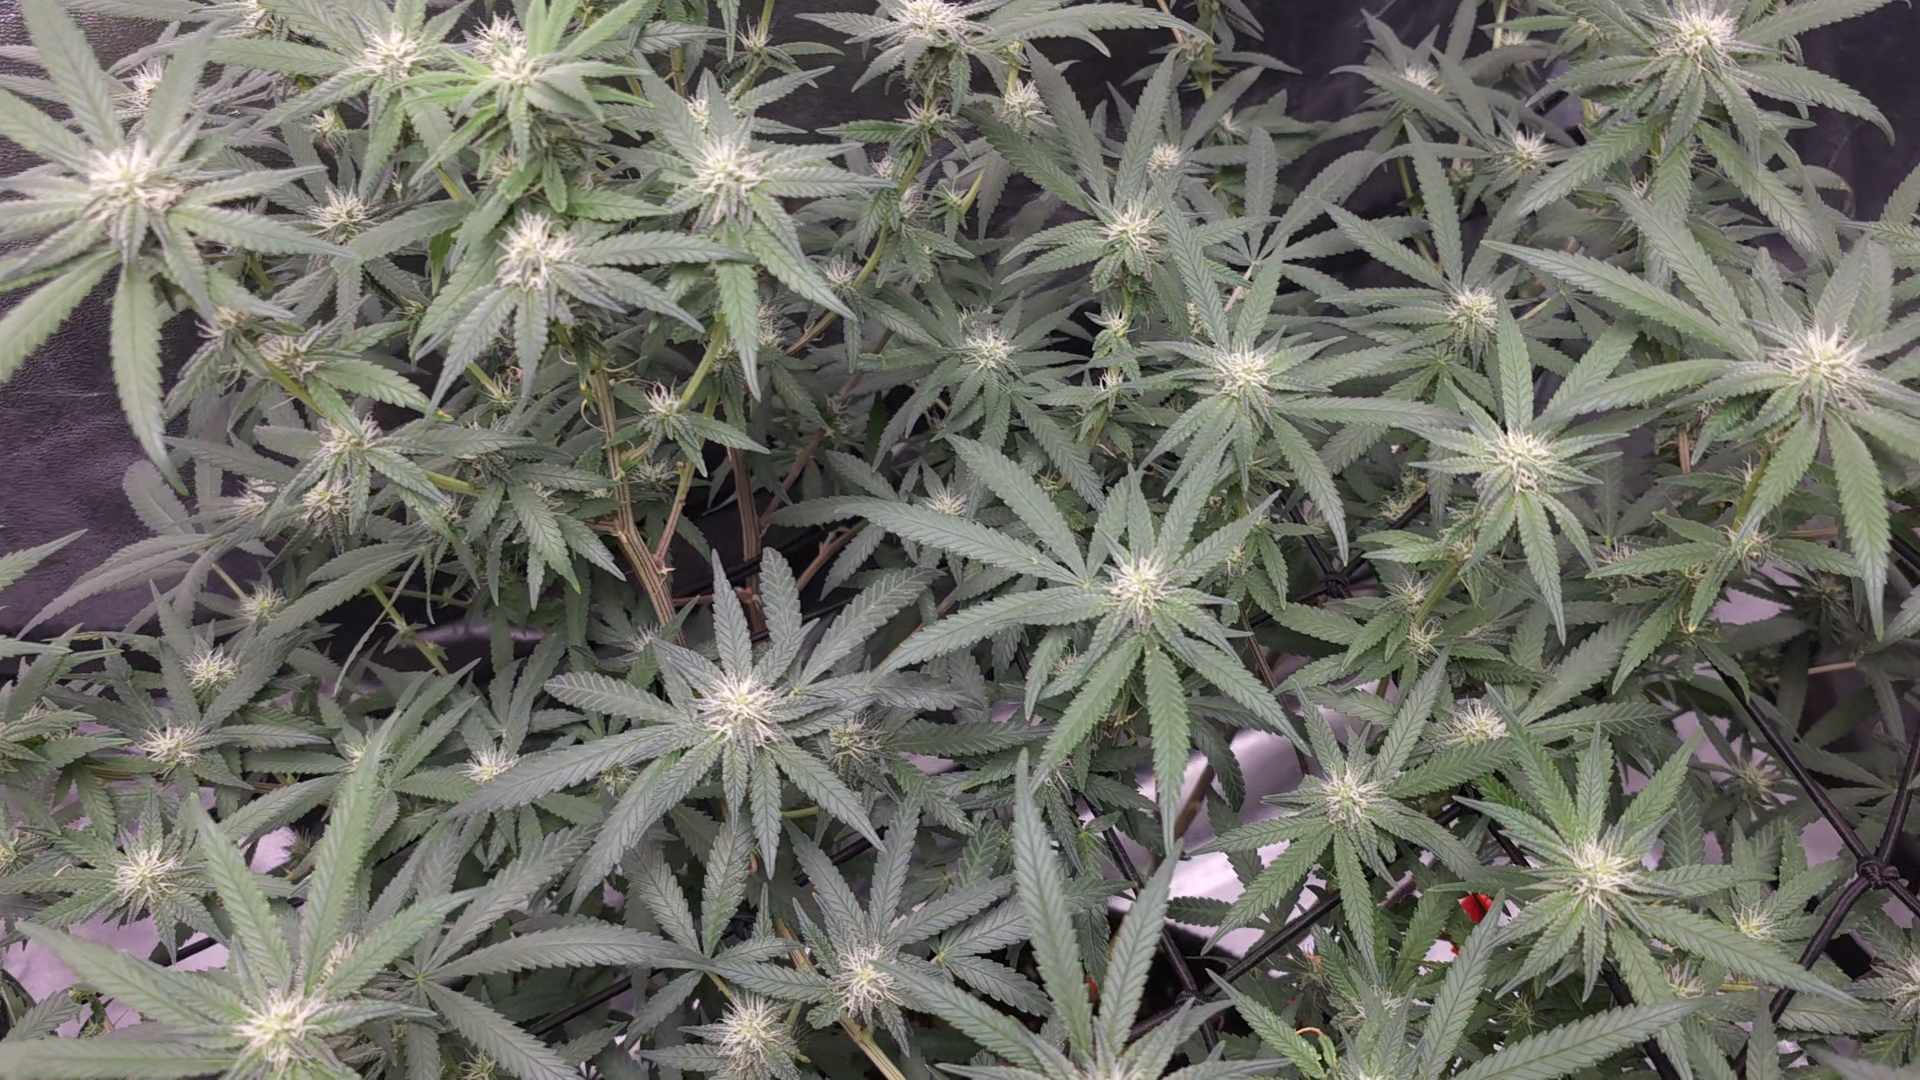
Pre-flowering Stage (1-2 weeks)
Detailed Section on the Pre-flowering Stage
The pre-flowering stage, often overlooked in the broader discussion of the cannabis life cycle, serves as a crucial transitional period between the vegetative and flowering stages. This phase is particularly significant for cultivators aiming to grow sensimilla (seedless cannabis) because it is when plants begin to reveal their sex. Understanding and effectively managing the pre-flowering stage can have a profound impact on the overall quality and yield of the harvest.
Description
Pre-flowering typically occurs when the plant is exposed to around 12-14 hours of light per day, just before the strict 12/12 light cycle used to induce full flowering. During this time, cannabis plants start to develop pre-flowers or early signs of their sex. These signs appear at the nodes, where the branches meet the stem.
- Male Plants: Develop pollen sacs that hang like tiny balls. These are the plant’s mechanisms for fertilizing female plants.
- Female Plants: Produce small, white hairs (pistils) that emerge from what will become the bud sites.
Identifying the plant’s sex as early as possible is crucial for cultivators, especially those who wish to avoid pollination and produce high-quality, seedless buds.
Care Needs
- Observation and Identification: The key task during the pre-flowering stage is to monitor your plants closely and identify their sex. This involves regularly inspecting the nodes with a magnifying glass to spot the early signs of male or female pre-flowers.
- Removing Male Plants: If your goal is to produce sensimilla, it’s essential to remove male plants from your grow area as soon as their sex is confirmed. Even one male can pollinate an entire room of female plants, leading to seeded buds.
- Adjusting Care Regimen: Continue the care regimen from the vegetative stage, as the plants are still focusing on growth during pre-flowering. This includes maintaining light exposure to 16-18 hours per day, keeping up with vegetative-stage nutrient formulations, and ensuring optimal watering practices.
- Preparing for Flowering: Use this time to make any necessary adjustments to your setup in anticipation of the flowering stage. This might include changing the nutrient mix to one more suited for flowering, reducing humidity levels to prepare for bud development, and planning the switch to a 12/12 light cycle.
The pre-flowering stage is a period of transition and anticipation. By carefully observing your plants and responding appropriately to their needs, you can ensure a smooth transition into the flowering stage, setting the stage for a successful harvest of potent, seedless cannabis.
Flowering Stage (6-12 weeks)
Detailed Section on the Flowering Stage
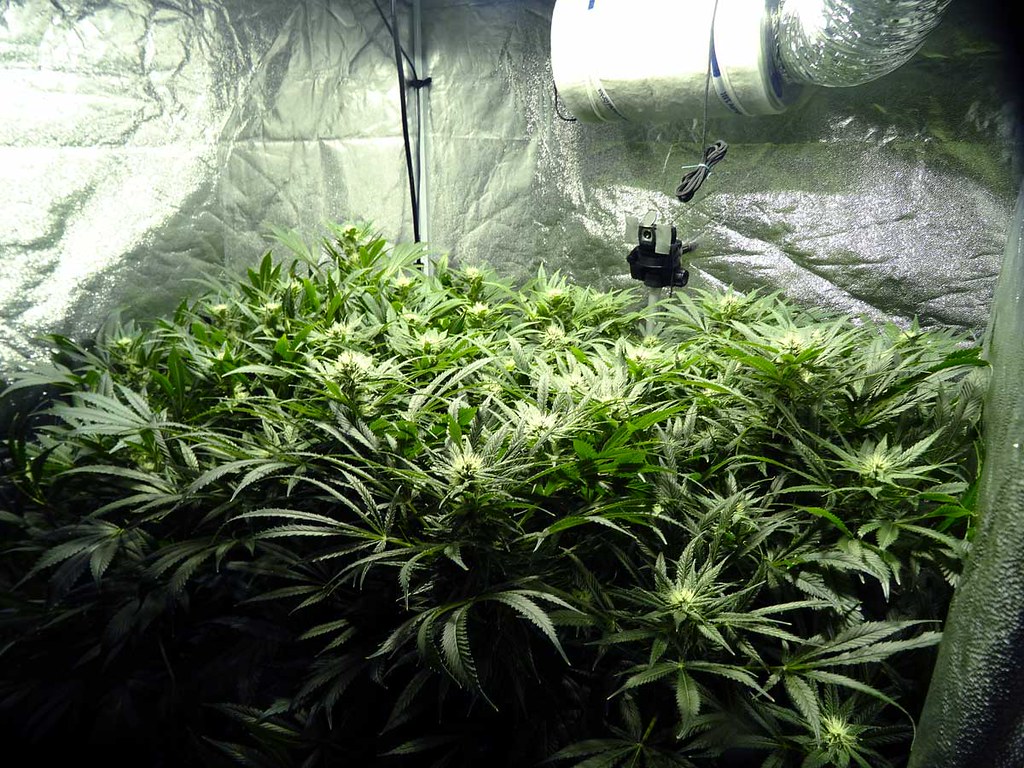
The flowering stage is a transformative and critical period in the life cycle of a cannabis plant, marking the transition from growth to reproduction. This stage is eagerly anticipated by cultivators, as it culminates in the development of the buds that are harvested for their medicinal and recreational properties. Understanding and properly managing the care needs during this phase is crucial for maximizing yield and ensuring the quality of the final product.
Description
Triggered by changes in light exposure—specifically, a shift to 12 hours of light and 12 hours of darkness—the flowering stage sees the plant cease its vegetative growth and focus its energy on producing flowers (buds). This stage can be divided into three distinct phases: early, mid, and late flowering.
- Early Flowering: In the first few weeks, the plant will continue to grow vertically, a phase often referred to as the “stretch.” During this time, you’ll begin to see the formation of pistils and bud sites.
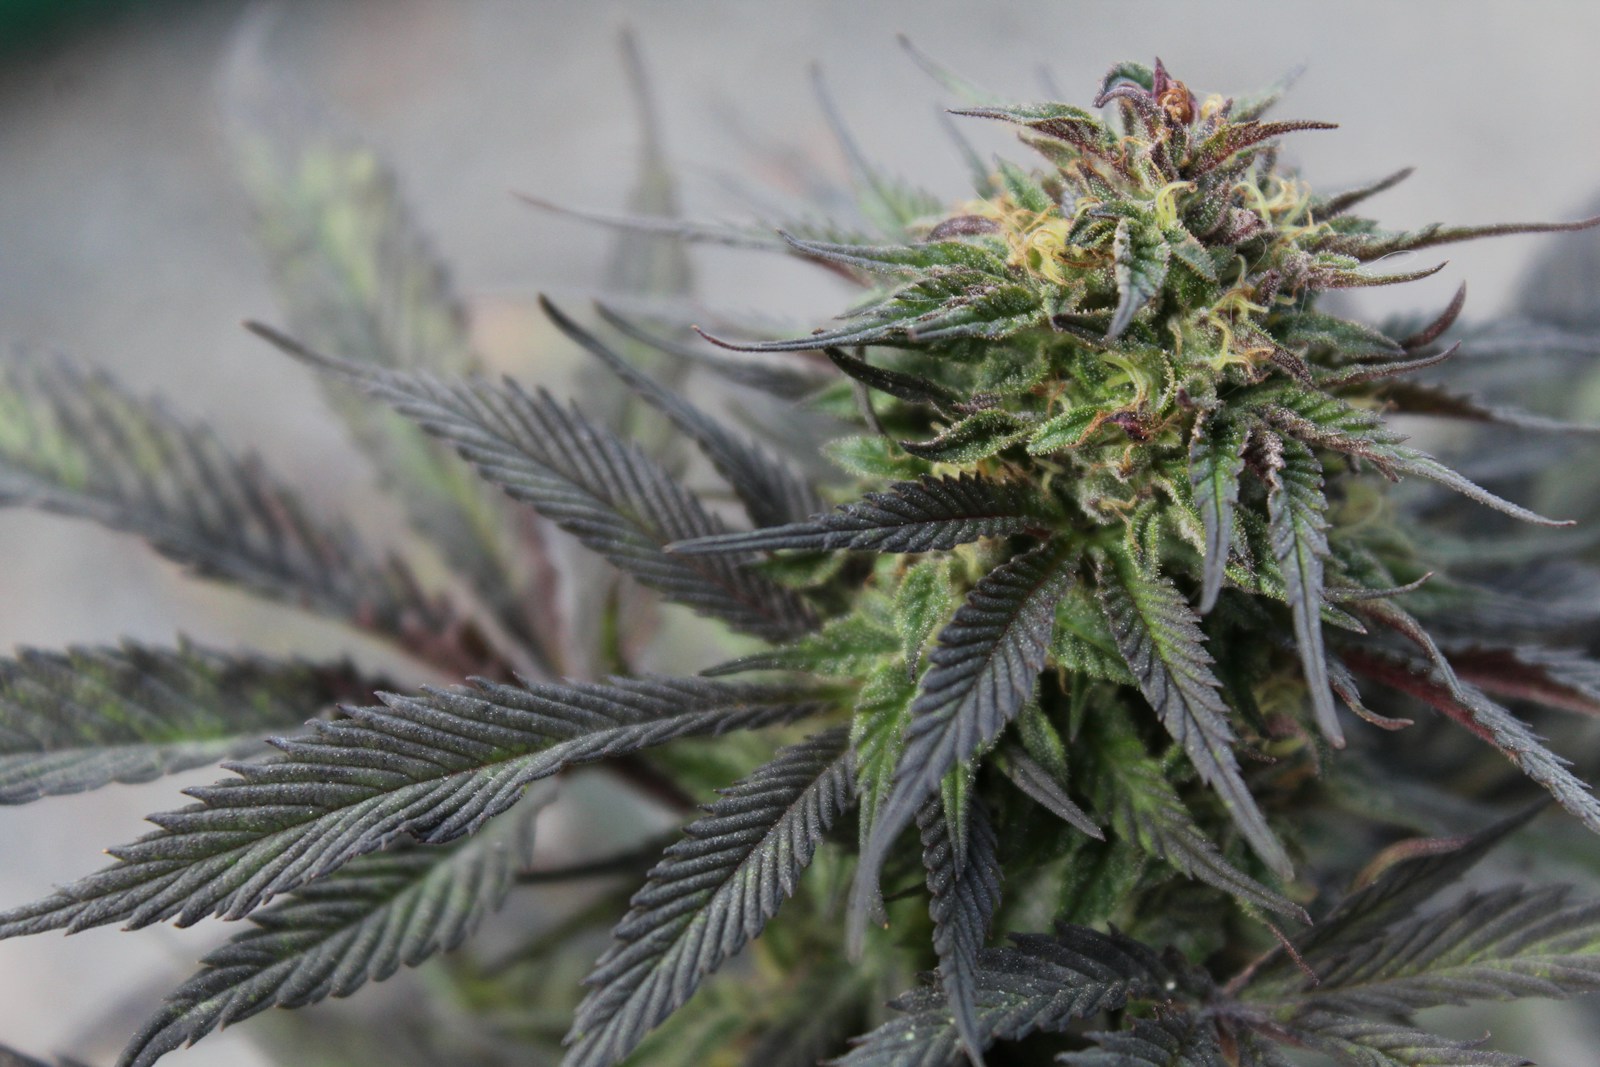
- Mid Flowering: Growth in height will slow down, and the plant will start to devote more energy to bud development. Buds will increase in size and density, and trichomes (the resin glands containing THC, CBD, and other cannabinoids) will begin to form.
- Late Flowering: The final weeks are focused on ripening. Trichomes will mature, changing from clear to cloudy, and in some strains, to amber. This color change is a key indicator of when the plant is ready for harvest.
Care Needs
- Lighting: Maintaining a strict 12/12 light cycle is crucial for inducing and supporting the flowering stage. Any light leaks during the dark period can stress the plant and lead to hermaphroditism or revert it back to vegetative growth.
- Nutrients: As the plant’s focus shifts to bud development, its nutritional needs change. Reduce nitrogen levels while increasing phosphorus and potassium, which support flowering. Using bloom-specific nutrient formulas can simplify this adjustment.
- Humidity and Temperature: To minimize the risk of mold and mildew, especially as buds become denser, reduce humidity levels to 40-50%. Temperature should be slightly lowered compared to the vegetative stage, ideally between 68-79°F (20-26°C) during the light period.
- Watering: As buds grow and the plant’s metabolism increases, its water needs may rise. However, be mindful of overwatering, particularly in the later stages of flowering, as it can lead to root issues and affect bud quality.
- Observation: Regularly inspect your plants for signs of nutrient deficiencies, pests, or diseases. Pay close attention to the development of trichomes, as they are one of the best indicators of when to harvest.
Successfully managing the flowering stage involves a keen eye for detail and an understanding of the plant’s changing needs. By providing optimal care during this crucial phase, cultivators can look forward to harvesting potent, aromatic, and visually appealing cannabis buds.
Harvesting Stage (End of Flowering)
Detailed Section on the Harvesting Stage
The harvesting stage is the grand finale in the life cycle of a cannabis plant, where all the hard work and dedication come to fruition. It’s not a growth stage per se but is integral to the cultivation process, requiring precise timing and technique to ensure the potency, aroma, and flavor profiles of the cannabis are at their peak. Understanding when and how to harvest is crucial for any cultivator aiming to produce high-quality cannabis.
Description
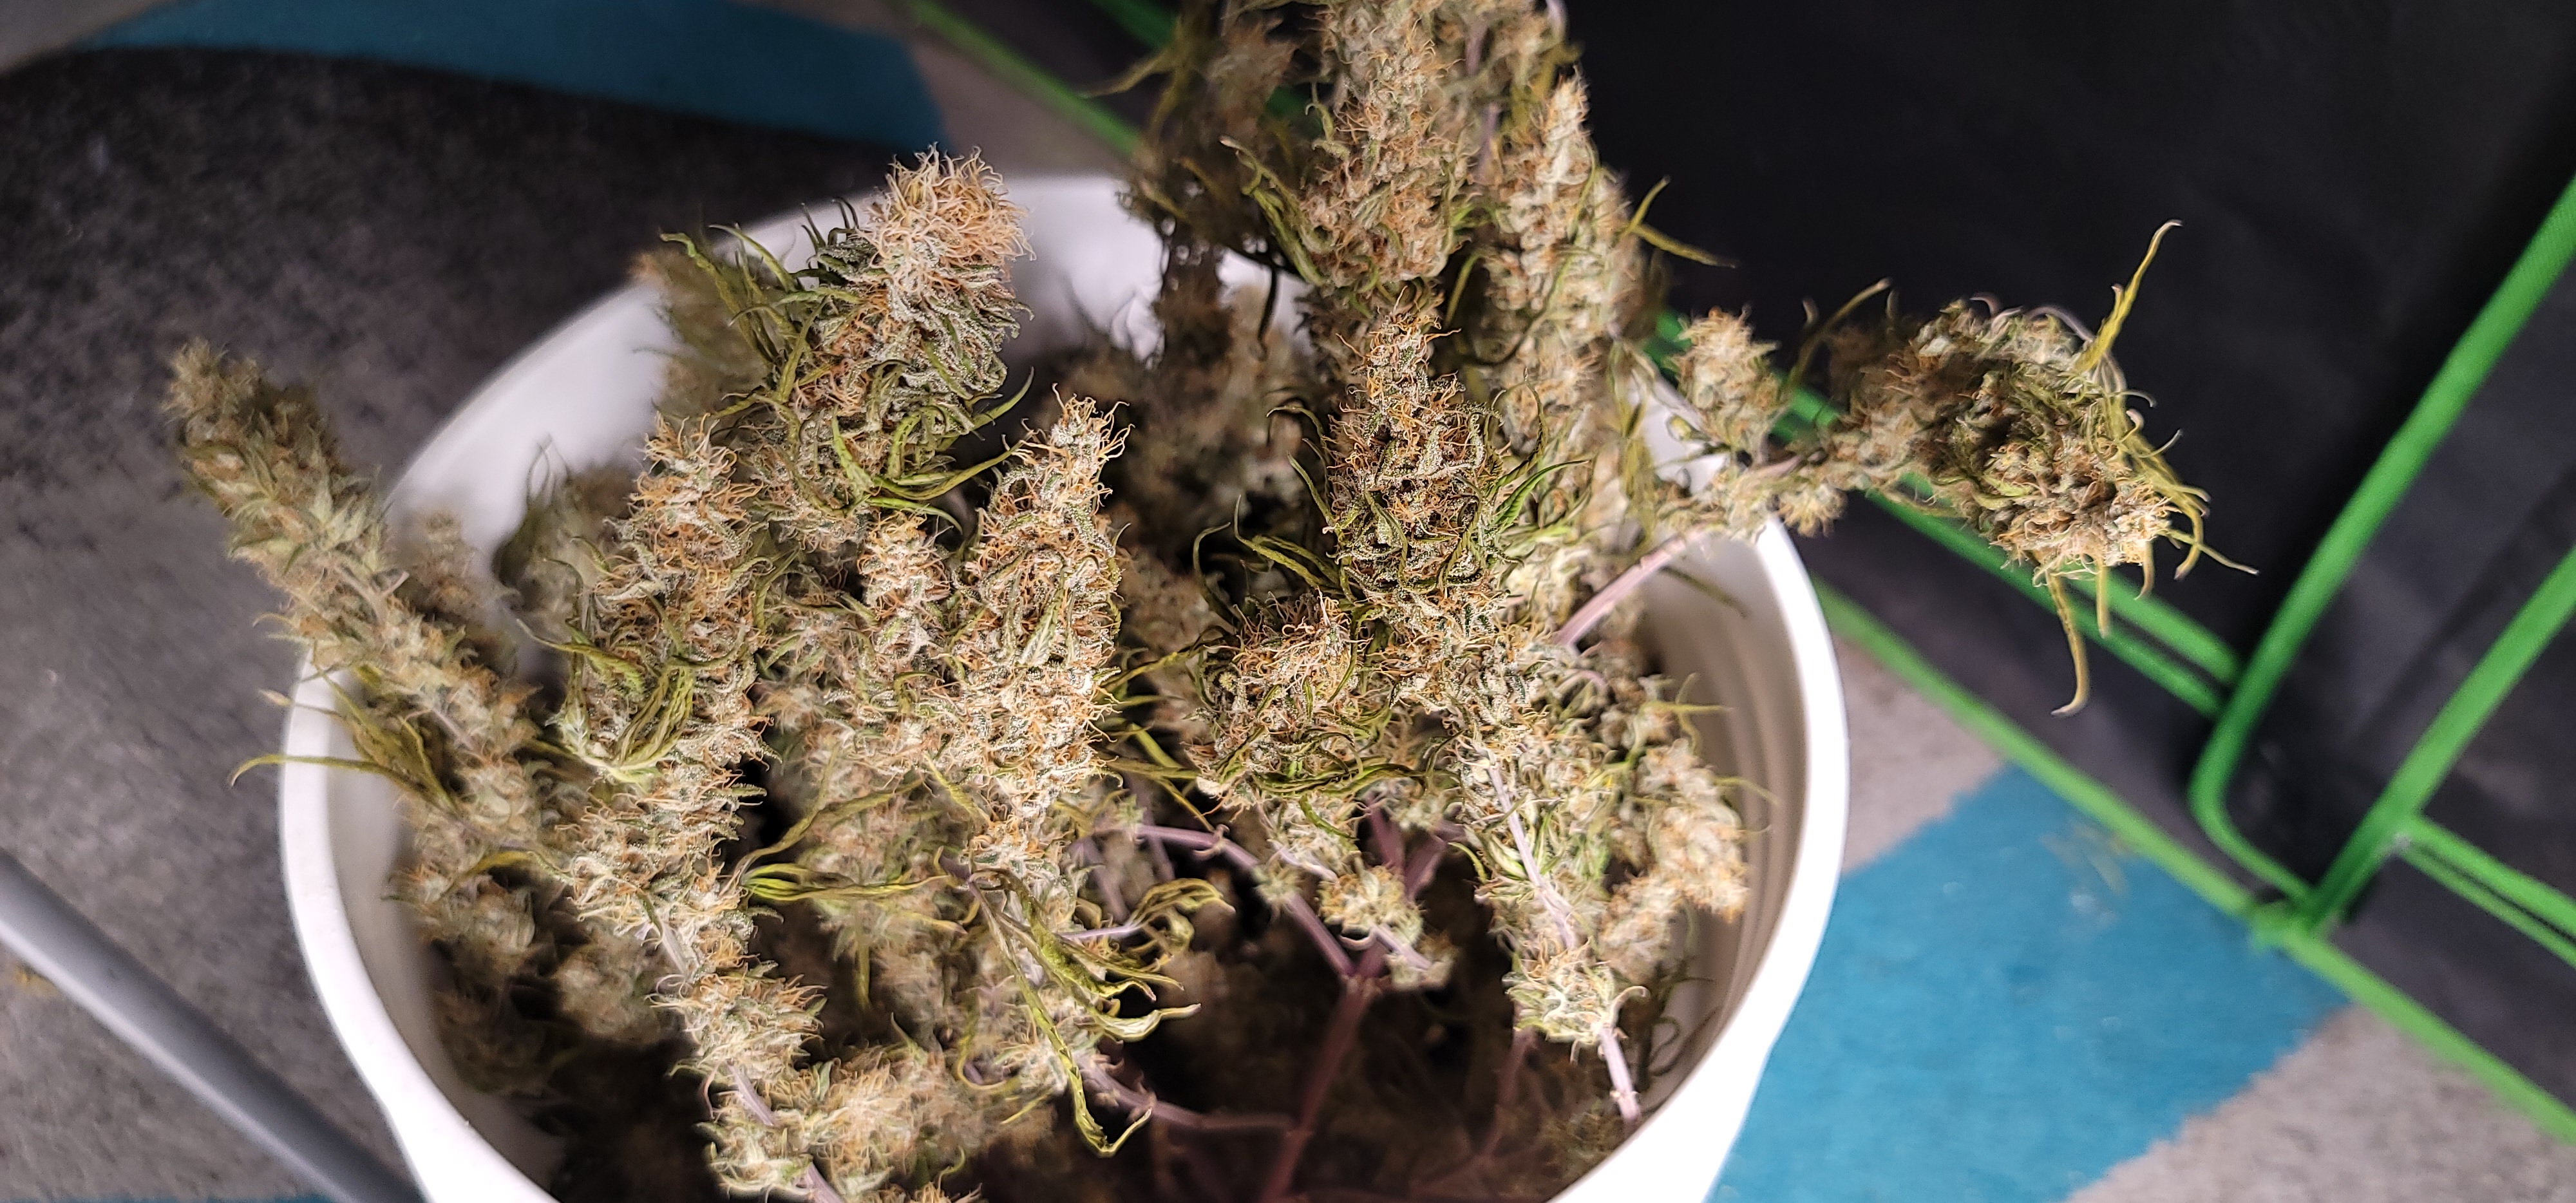
Harvesting begins when the trichomes, the tiny resin glands on the buds that contain cannabinoids like THC and CBD, have matured to the optimal point. These trichomes change in color from clear to milky white or amber, indicating the plant’s cannabinoids are at their peak levels. The timing of the harvest can affect the effects of the final product; earlier harvests may result in a more cerebral high, while later harvests can lead to a more sedative effect.
Care Needs
- Timing: Careful observation of the trichomes is essential for determining the best time to harvest. A jeweler’s loupe or a small microscope can be used to get a closer look at the trichomes’ color. The general rule of thumb is to harvest when most trichomes are milky white, with some beginning to turn amber.
- Technique: Once the optimal harvest time is determined, the actual process of harvesting involves cutting down the plant, trimming away the leaves around the buds (wet trimming), and then hanging the branches to dry in a controlled environment. Some growers prefer dry trimming, where the leaves are left on during the drying process and removed afterward. Each technique has its advantages, depending on the grower’s preferences and the specific conditions of the drying space.
- Drying: Proper drying is critical to prevent mold and preserve the quality of the buds. The drying environment should be dark, with temperatures between 60-70°F (15-21°C) and humidity around 59-63%. Drying too quickly can result in harsh smoke while drying too slowly increases the risk of mold. The process usually takes about a week to ten days.
- Curing: After drying, the buds are placed in airtight containers, like glass mason jars, to cure. This process allows for the gradual release of moisture from the buds, enhancing their flavor and smoothness. Containers should be opened daily for the first week to allow for air exchange and to check for mold. Curing can last from a few weeks to several months, depending on the desired outcome.
The harvesting stage is as much an art as it is a science, requiring patience and attention to detail to maximize the quality of the final product. By carefully timing the harvest and employing proper drying and curing techniques, cultivators can ensure their cannabis reaches its full potential in terms of potency, aroma, and flavor.

Bonus: Successful Harvesting Tips
Harvesting your cannabis plants is a rewarding experience, marking the culmination of months of hard work and care. To ensure you maximize the quality and quantity of your yield, here are some essential tips for a successful harvest:
- Monitor Trichome Maturity: The most accurate way to determine the right time to harvest is by observing the color of the trichomes under a magnifying glass or jeweler’s loupe. Aim for the majority of trichomes to be milky white with some amber ones before harvesting for a balanced potency.
- Harvest at the Right Time of Day: For outdoor growers, harvesting in the morning is ideal as the plant’s terpene levels are highest before the sun can evaporate some of their potency. Indoor growers can mimic this by harvesting right before the lights typically go on.
- Handle Buds Gently: During both the trimming and drying processes, handle your buds as gently as possible to avoid damaging the trichomes. Use sharp, clean scissors for trimming to make precise cuts and maintain the integrity of the buds.
- Dry Slowly and Properly: Rushing the drying process can degrade the quality of your cannabis. Dry your buds in a controlled environment—cool, dark, and with adequate ventilation. The ideal drying environment maintains a temperature of around 60-70°F (15-21°C) and 50-60% humidity.
- Cure for Flavor and Smoothness: Curing is crucial for developing the optimal flavor profile and smoothness of your buds. Store the dried buds in airtight containers, opening them daily for the first week to release moisture and check for mold. A well-cured cannabis can significantly enhance the smoking experience.
- Keep It Clean: Ensure all your tools, drying racks, and storage containers are clean before use to prevent contamination. Wear gloves when handling buds to keep them free from oils and dirt on your hands.
- Label Everything: If you’re harvesting multiple strains, label each batch clearly during drying and curing to avoid confusion. Keeping detailed notes on each strain’s harvest time, drying time, and curing duration can also provide valuable insights for future harvests.
- Be Patient: Perhaps the most important tip is to be patient. Rushing any part of the harvest, drying, or curing process can compromise the quality of your final product. Giving your buds the time they need at each stage will ensure they develop their best flavor, potency, and aroma.
By following these tips, you can significantly impact the quality of your cannabis harvest. The attention to detail and patience you invest in the final stages of your plant’s life cycle will pay off in a high-quality product that you can be proud of.
Learn More About Curing Cannabis
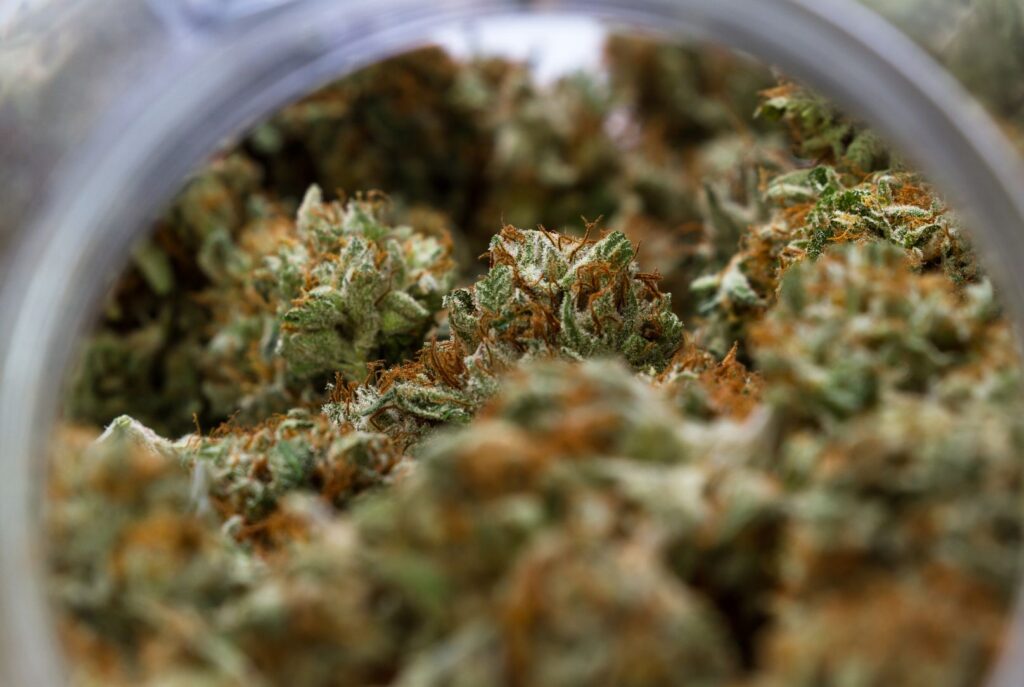
Curing cannabis is a critical post-harvest process that significantly influences the final quality of the buds. Proper curing not only enhances the potency and flavor of cannabis but also ensures it burns smoothly. Here’s an in-depth look at why curing is important and how to do it effectively.
Why Curing Matters
- Potency: Curing allows for the gradual breakdown of chlorophyll and other plant materials, which can interfere with the pure taste of cannabis and its smoothness when burned. This process also helps in preserving cannabinoids and terpenes, which are essential for the plant’s potency and aroma.
- Flavor and Aroma: During curing, the cannabis plant undergoes a slow chemical process that enhances its natural flavors and aromas. Properly cured buds offer a more pleasant and refined sensory experience.
- Smoothness: Curing reduces the harshness of smoke, making it smoother and more enjoyable to consume. This is due to the reduction of chlorophyll and other harsh elements through the curing process.
The Curing Process
- Initial Drying: Before curing, cannabis must be properly dried. This usually takes about 7-10 days in a controlled environment with optimal humidity and temperature. Buds should feel dry to the touch but not brittle.
- Trimming: If not done before drying, buds should be trimmed to remove excess leaves. Trimming can be done wet (before drying) or dry (after drying) based on preference.
- Jar Curing: Place the dried and trimmed buds in airtight containers, like glass mason jars, filling them ¾ full to allow for some air circulation. Store these jars in a cool, dark place.
- Burping: During the first week of curing, open the jars several times a day to let fresh air in and release any built-up moisture. This process, known as “burping,” is crucial for preventing mold and for the gradual moisture release from the buds.
- Monitoring: Check the buds for signs of mold or unpleasant smells during each burping session. If buds feel too wet, leave the jars open for a bit longer to allow excess moisture to escape.
- Duration: The curing process typically lasts for about 3-4 weeks, but longer curing times can further improve the quality of the cannabis. Some connoisseurs cure their buds for several months.
Curing is an art that requires patience and attention to detail. By following these steps, cultivators can ensure their cannabis reaches its highest potential in terms of potency, flavor, and smoothness. It’s a crucial step that separates good cannabis from great cannabis, enhancing the overall experience for consumers.
Review of the Entire Cannabis Life Cycle Summary
The life cycle of a cannabis plant is a fascinating journey that spans several stages, each with its unique characteristics and care requirements. Understanding this cycle is crucial for cultivators aiming to maximize the health, growth, and potency of their plants. Here’s a summary of each stage:
- Germination Stage (1-2 weeks): The life of a cannabis plant begins with the germination of seeds, requiring moisture, warmth, and gentle light. Proper care during this stage sets the foundation for a healthy plant.
- Seedling Stage (2-3 weeks): As the plant develops its first true leaves, maintaining high humidity, moderate temperatures, and providing gentle light is crucial. This stage is vital for establishing a strong, healthy foundation for future growth.
- Vegetative Stage (3-8 weeks): The plant focuses on growing in size and strength. Care needs include increased light intensity, a nutrient solution high in nitrogen, and adjusting watering as the plant grows larger. This stage is critical for developing a robust structure that will support flowering.
- Pre-flowering Stage (1-2 weeks): This stage marks the transition to flowering, where plants start showing their sex. It’s essential to identify and remove male plants to prevent them from pollinating females, ensuring seedless buds.
- Flowering Stage (6-12 weeks): Triggered by reduced light hours, this is when female plants develop buds. Care includes switching to a nutrient solution higher in phosphorus and potassium, reducing humidity, and maintaining a strict light cycle to encourage bud formation and maturation.
- Harvesting Stage: Not a growth stage per se, but harvesting is when cultivators reap the rewards of their labor. Timing is critical, with the change in trichome color indicating peak potency. Proper drying and curing are essential to maximize the quality of the final product.
Conclusion of the Cycle
Understanding the stages of the cannabis plant life cycle is fundamental to becoming a successful grower. Each phase, from seedling to harvest, requires specific care and attention to ensure that your plants thrive and produce the best possible yield. Mastery of these stages not only improves the quality of your crop but also deepens your appreciation for the art of cultivation.
The journey to a bountiful harvest begins with the very first step: germination. This critical initial stage sets the foundation for healthy plant development and robust growth. Whether you’re a novice grower or an experienced cultivator, mastering the germination process is key to starting your grow off on the right foot.
To delve deeper into this essential phase and learn how to achieve the best results, check out our comprehensive guide on Germination. This article provides practical tips and detailed instructions on how to successfully germinate cannabis seeds, ensuring a strong start for your plants. Don’t miss out on the crucial insights that can elevate your cultivation skills from the ground up!
Additional Resources:
- Grow That Sh!t Better by Maximus Reigns – An essential eBook for both novice and experienced growers, offering advanced techniques and tips for improving cannabis cultivation.
- Cannabis Growers’ Handbook by Ed Rosenthal – A comprehensive guide that covers all aspects of growing cannabis, from setup to harvest.
- Royal Queen Seeds Blog – A rich resource for growers, featuring articles on growing techniques, strain information, and more.
- Need Cannabis Seeds? – Seedsman Seeds has a variety of seeds for all growers from new and seasoned to medical and CBD users.
- Grow Weed Easy – A website dedicated to providing step-by-step guides and resources for growing cannabis at home.
These resources offer valuable insights and practical advice, whether you’re just starting or looking to refine your cultivation practices. Dive into these materials to further enhance your understanding and skills in growing cannabis.
